


ADAS recalibration repair is vital for restoring advanced driver-assistance systems (ADAS) functionality in vehicles after collisions or major repairs, ensuring safety and precise performance. This specialized service requires specific tools like calibration software, hand tools, and sometimes new sensors. The meticulous process begins with damage assessment, followed by using compatible diagnostic scanners to recalibrate sensors (lidar, radar, cameras) according to manufacturer guidelines. Professional help is recommended if errors occur or techniques are unfamiliar.
New to the world of ADAS recalibration repair? This comprehensive guide is your perfect starting point. Discover the fundamentals of this advanced automotive service, explore the essential tools and equipment needed for accurate calibration, and master the step-by-step process. Whether you’re a seasoned technician or just starting, understanding ADAS recalibration repair is crucial in today’s tech-driven vehicle landscape. Let’s dive into the basics and become experts together.
- Understanding ADAS Recalibration Repair: The Basics
- Tools and Equipment Required for Calibration
- Step-by-Step Guide to Performing ADAS Recalibration Repair
Understanding ADAS Recalibration Repair: The Basics

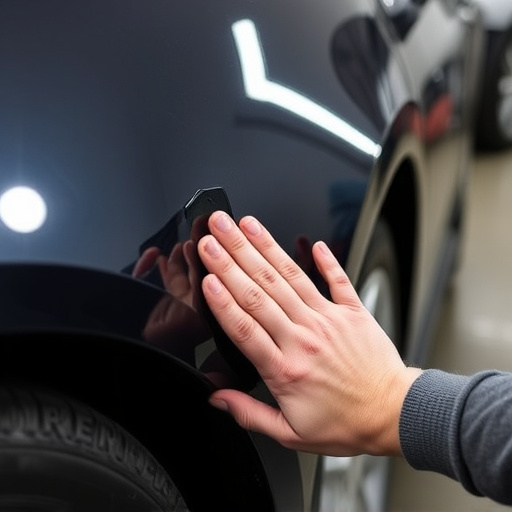
ADAS recalibration repair is a specialized service that adjusts and realigns advanced driver-assistance systems (ADAS) in vehicles after they’ve been involved in collisions or undergone significant repairs. ADAS, which includes features like adaptive cruise control, lane departure warning, and automatic emergency braking, relies on precise sensor calibration for optimal performance. When these sensors are misaligned due to damage, the system’s effectiveness can be compromised, posing potential safety risks.
This process involves meticulous techniques, often employing advanced technology, to ensure the sensors are accurately recalibrated. Unlike traditional dent repairs like paintless dent repair or vehicle dent repair, ADAS recalibration requires a deeper understanding of automotive electronics and sensor functionality. It’s typically performed at certified auto collision centers equipped with specialized tools and trained technicians who can navigate complex systems, ensuring your vehicle’s safety features work flawlessly after an accident or significant maintenance.
Tools and Equipment Required for Calibration

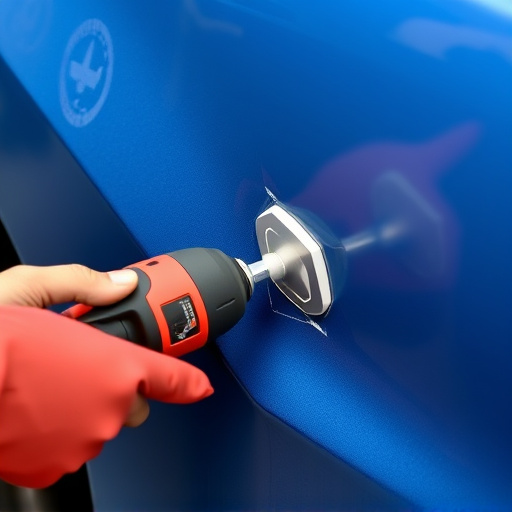
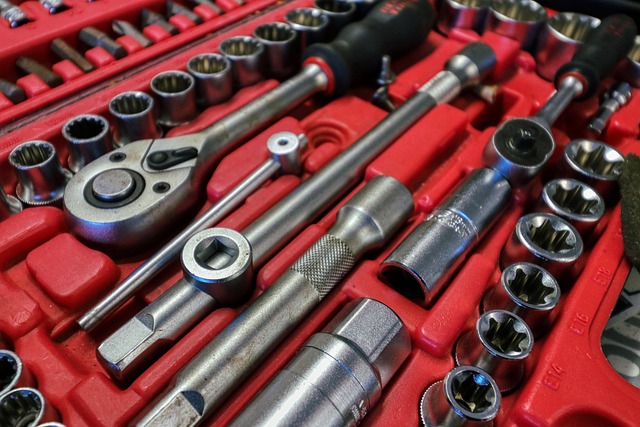
When it comes to ADAS recalibration repair, having the right tools and equipment is essential for a successful and precise process. The first step in any calibration job is preparation, and this involves gathering specific tools tailored to the task. For instance, you’ll need specialized calibration software that’s compatible with your vehicle’s make and model. This software allows you to perform intricate adjustments to the Advanced Driver Assistance Systems (ADAS) sensors, ensuring they function optimally.
Additionally, expect to require a variety of hand tools such as screwdrivers, wrenches, and pliers, all in the appropriate sizes for your car’s components. For more complex jobs, an air compressor might be needed to reset certain sensors. In some cases, a new or replacement sensor could be required if the old one is damaged beyond repair. Remember, proper auto maintenance demands attention to detail and the right tools, making these essential components of any ADAS recalibration repair kit.
Step-by-Step Guide to Performing ADAS Recalibration Repair

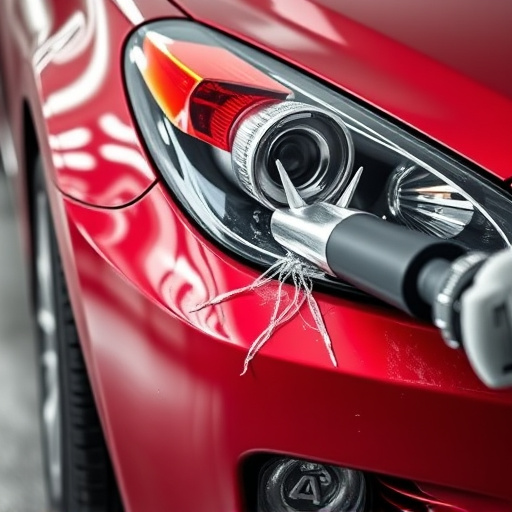
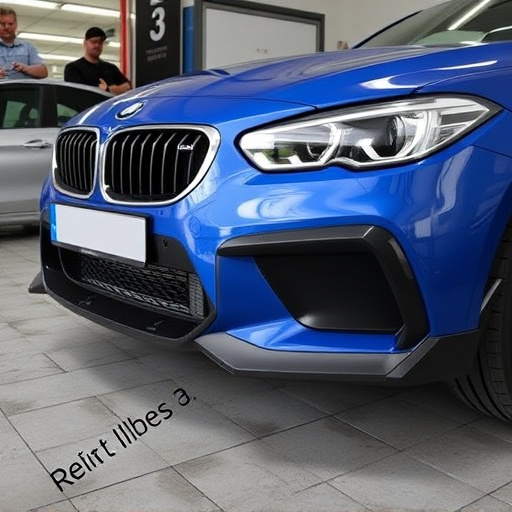
Performing ADAS recalibration repair involves a systematic approach to ensure accurate and safe driving aids. Start by inspecting the vehicle for any damage that could impact sensor function, focusing on areas like the front grill, headlights, and windshield. If there’s visible damage, consider car bodywork services for repairs, as even minor scrapes or chips can affect sensor performance. Frame straightening may also be necessary if the vehicle’s structure has been compromised.
Next, gather the required tools and equipment, including diagnostic scanners compatible with your vehicle’s system. Power off the engine and connect the scanner to access the ADAS system data. The process will involve recalibrating various sensors like lidar, radar, and cameras. Follow the manufacturer’s guidelines step-by-step, ensuring each sensor is accurately calibrated before moving on to the next. In case of any discrepancies or errors, consult a professional mechanic for guidance, especially if you’re unfamiliar with car restoration techniques.
ADAS recalibration repair is a specialized yet accessible skill for those new to automotive technology. By understanding the basics, acquiring the right tools, and following a structured guide, beginners can master this process. With these steps, you’ll be equipped to ensure your vehicle’s Advanced Driver Assistance Systems (ADAS) function optimally, enhancing safety and performance. Remember, proper calibration is key to maintaining these cutting-edge features.